

EMBROIDERY DIGITIZING SERVICES IN NAMPA, IDAHO
Need to digitize a logo or artwork for embroidery? We offer professional embroidery digitizing services with 24-hour turnaround, expert stitch optimization, and the most competitive rates in Nampa. Send us your design and get a clean, production-ready .DST file—fast.


WHAT IS EMBROIDERY DIGITIZING?
HOW WE TURN YOUR ARTWORK INTO STITCH-READY FILES
Embroidery digitizing is the process of converting a logo, design, or image into a digital file that embroidery machines can understand. It’s not an automatic conversion—it’s a precise, creative process that requires skill, experience, and the right software.
Here’s how it works:
- From Image to Embroidery File
We start with a standard image format like JPG or PNG and convert it into a digitized file format (like .DST, .EXP, or .JEF), depending on the embroidery machine being used. - Machine-Ready Instructions
The digitized file tells the embroidery machine exactly how to stitch the design. This includes what type of stitch to use, how dense to make it, which direction to sew, and more. - Why It Matters
Clean, professional embroidery starts with high-quality digitizing. When done right, your design will stitch clearly, hold up to wear, and look polished on any garment or fabric.
At The Print Plug, we specialize in fast, accurate digitizing—with same-day turnaround available and free digitizing on select custom embroidery orders. Our experienced team provides up to three free revisions, so your design looks sharp and reflects the quality you’re after.
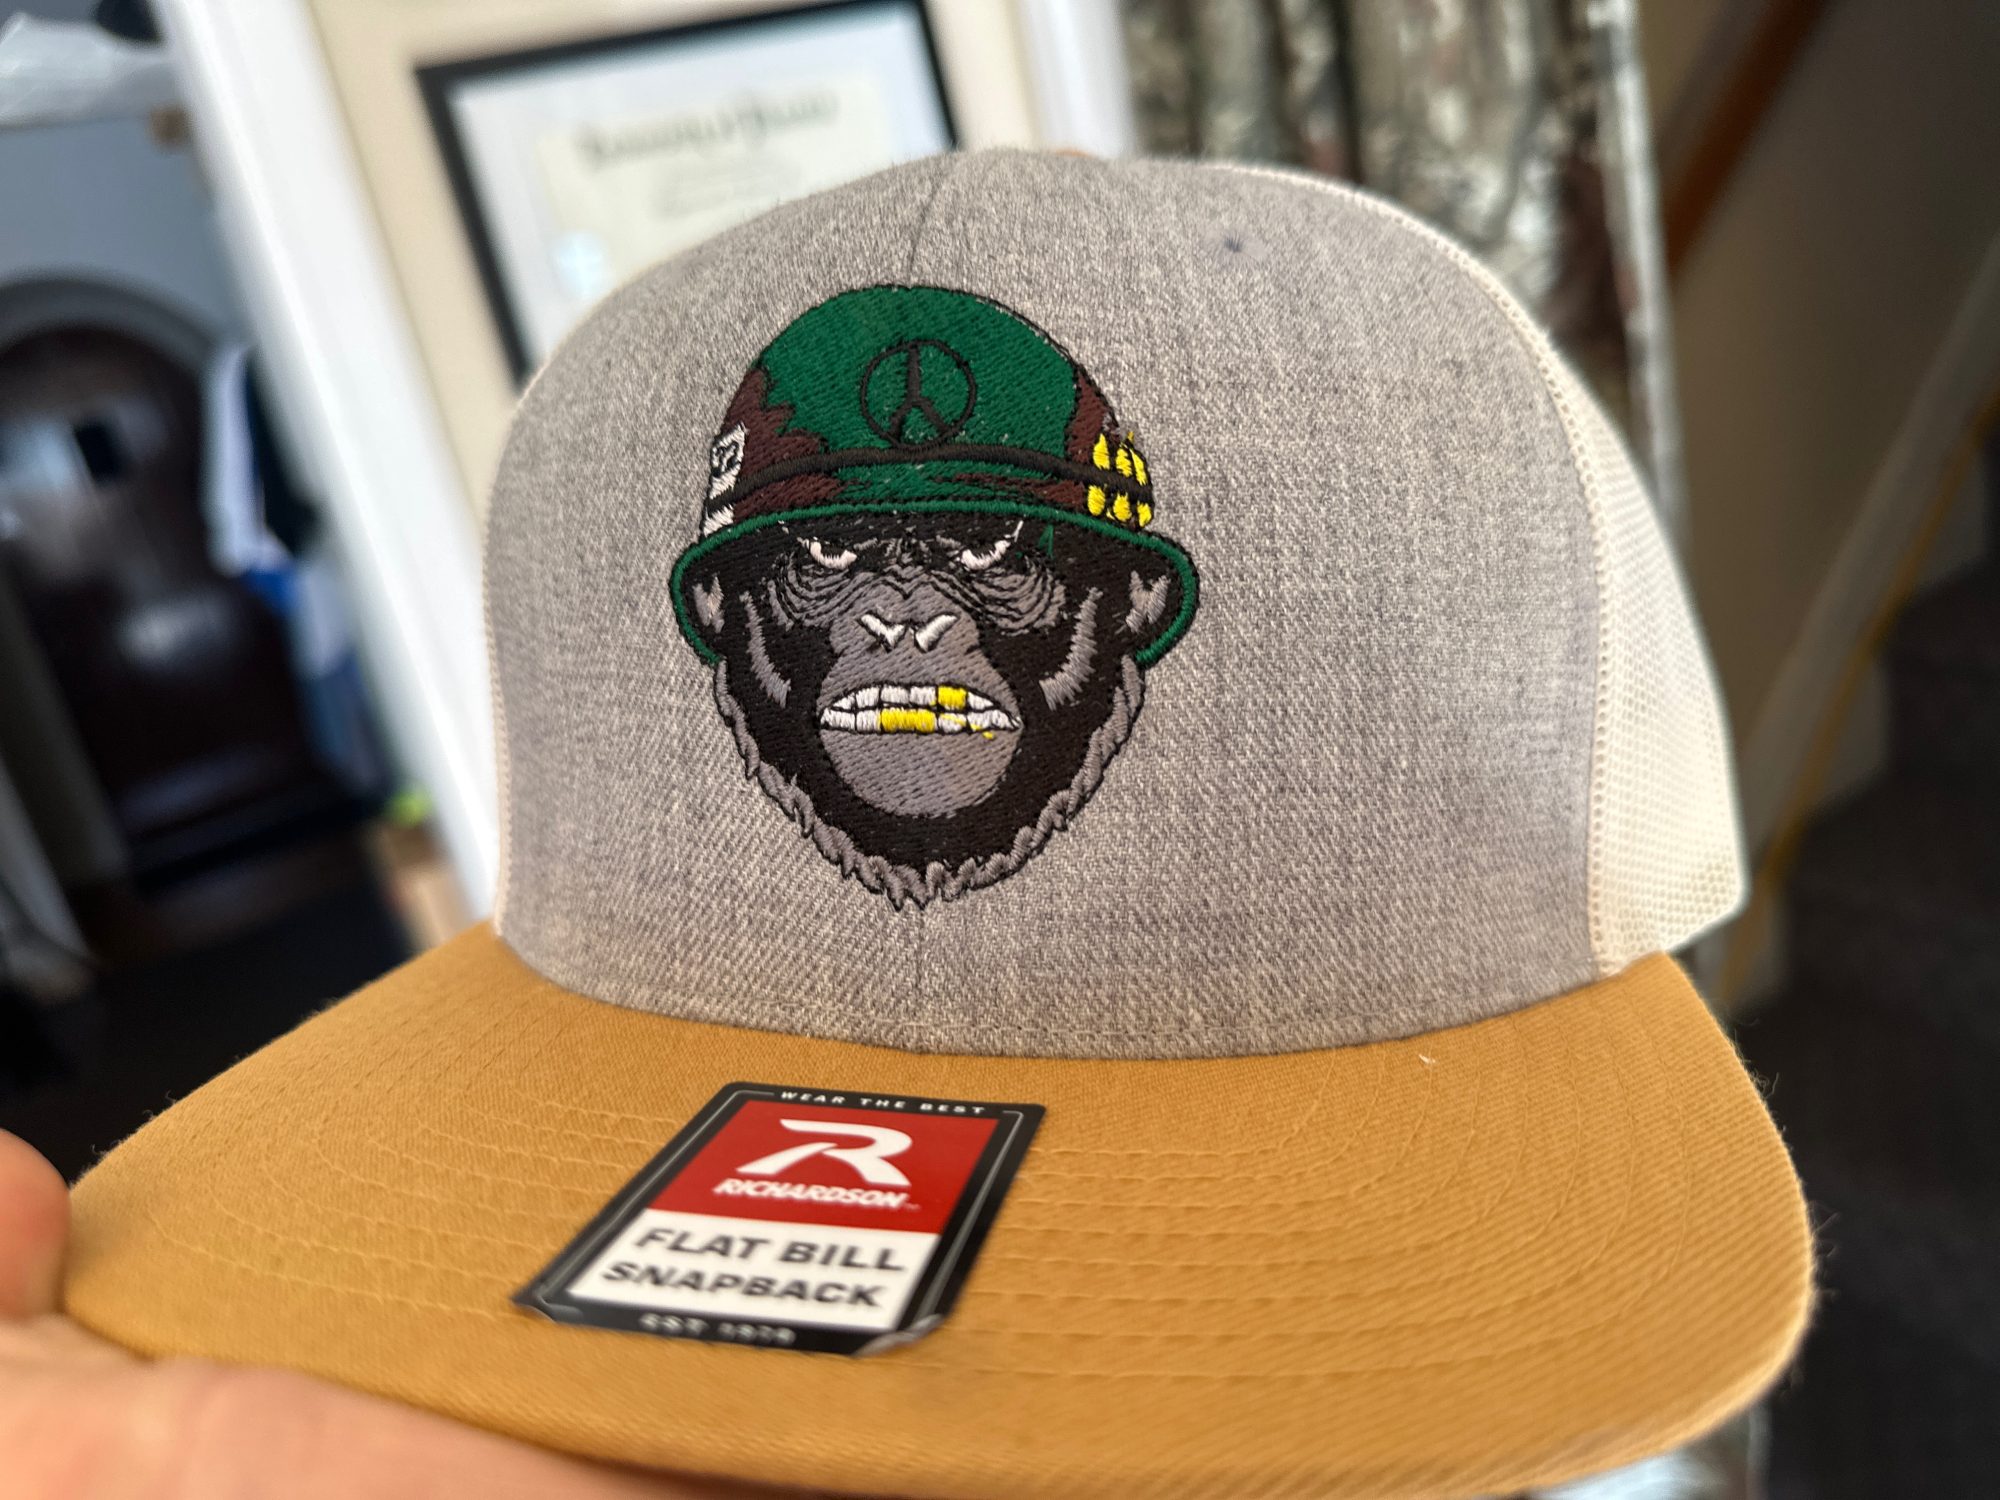
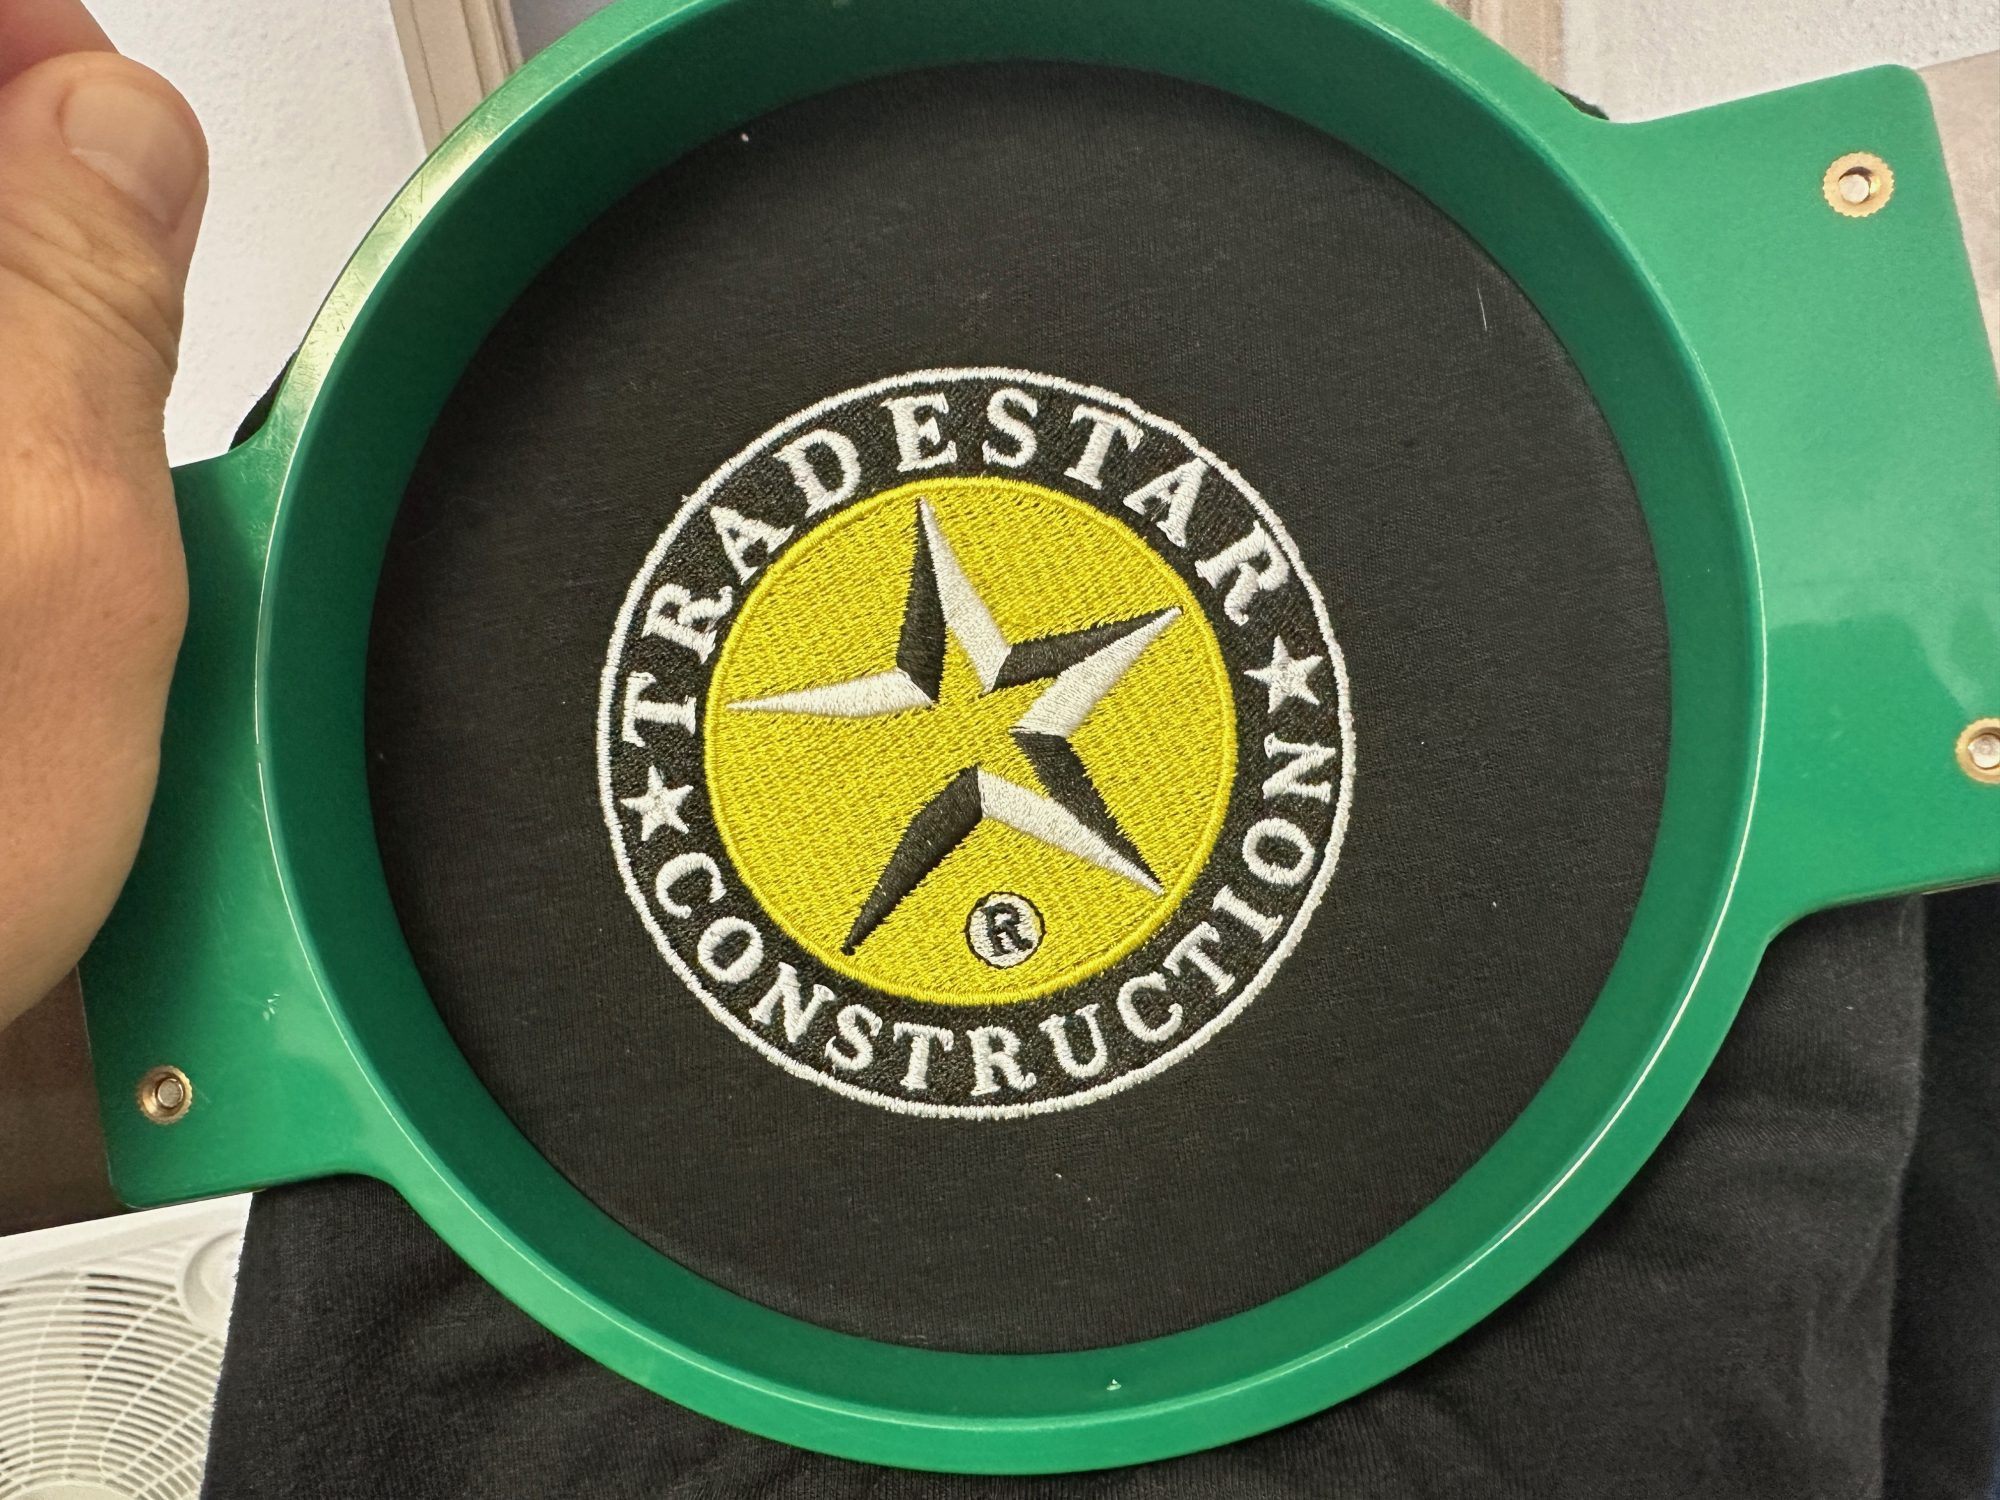
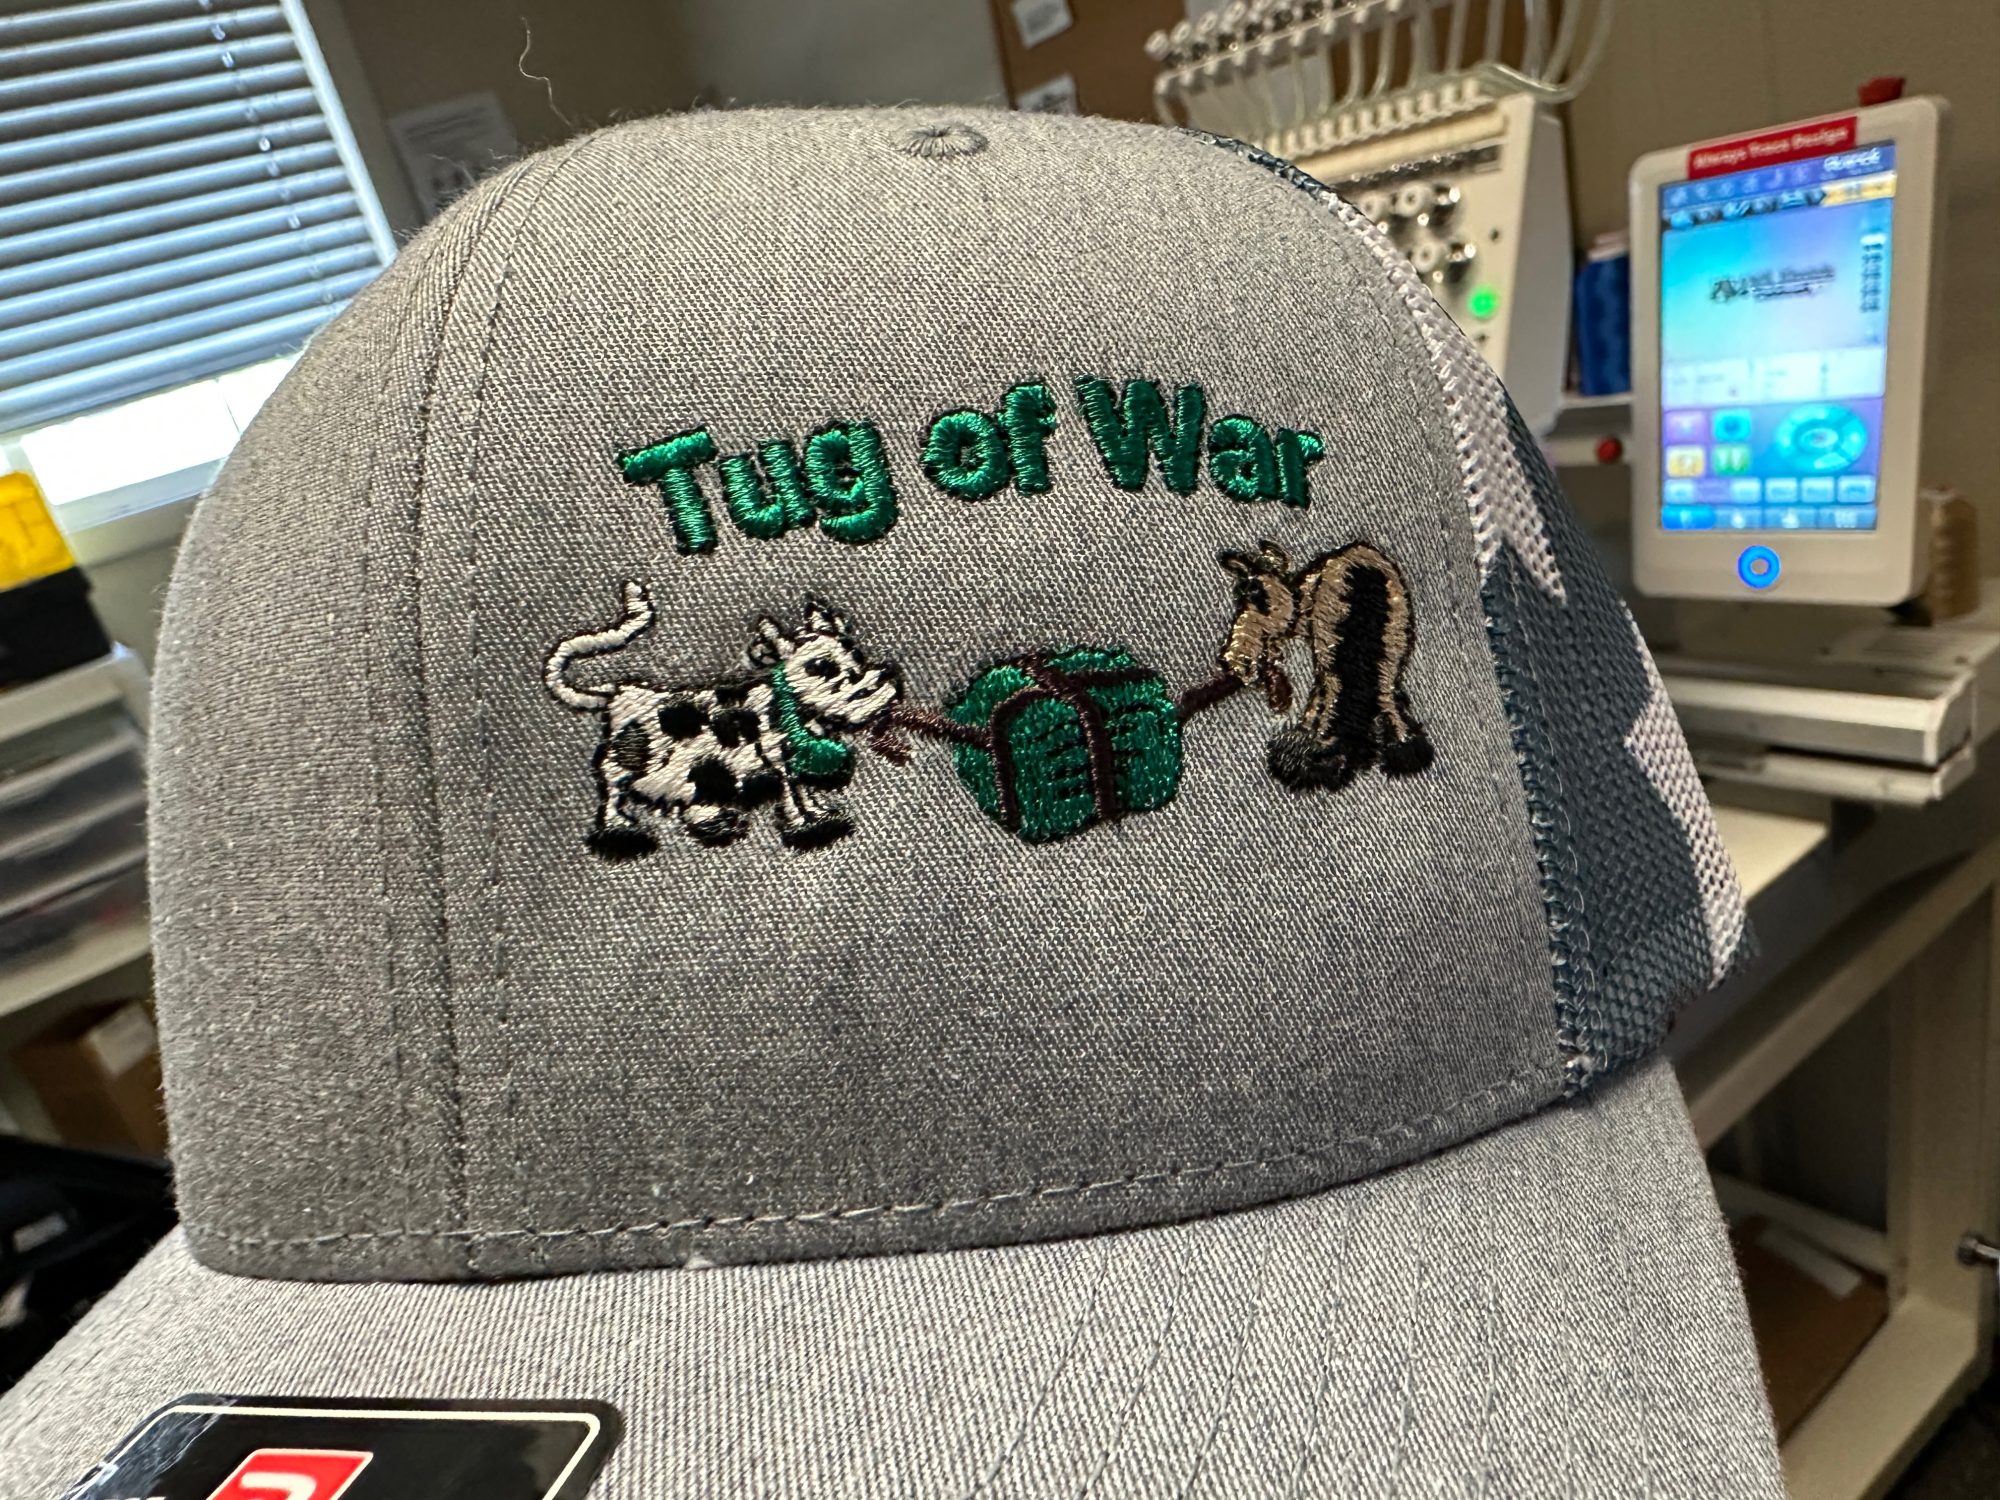
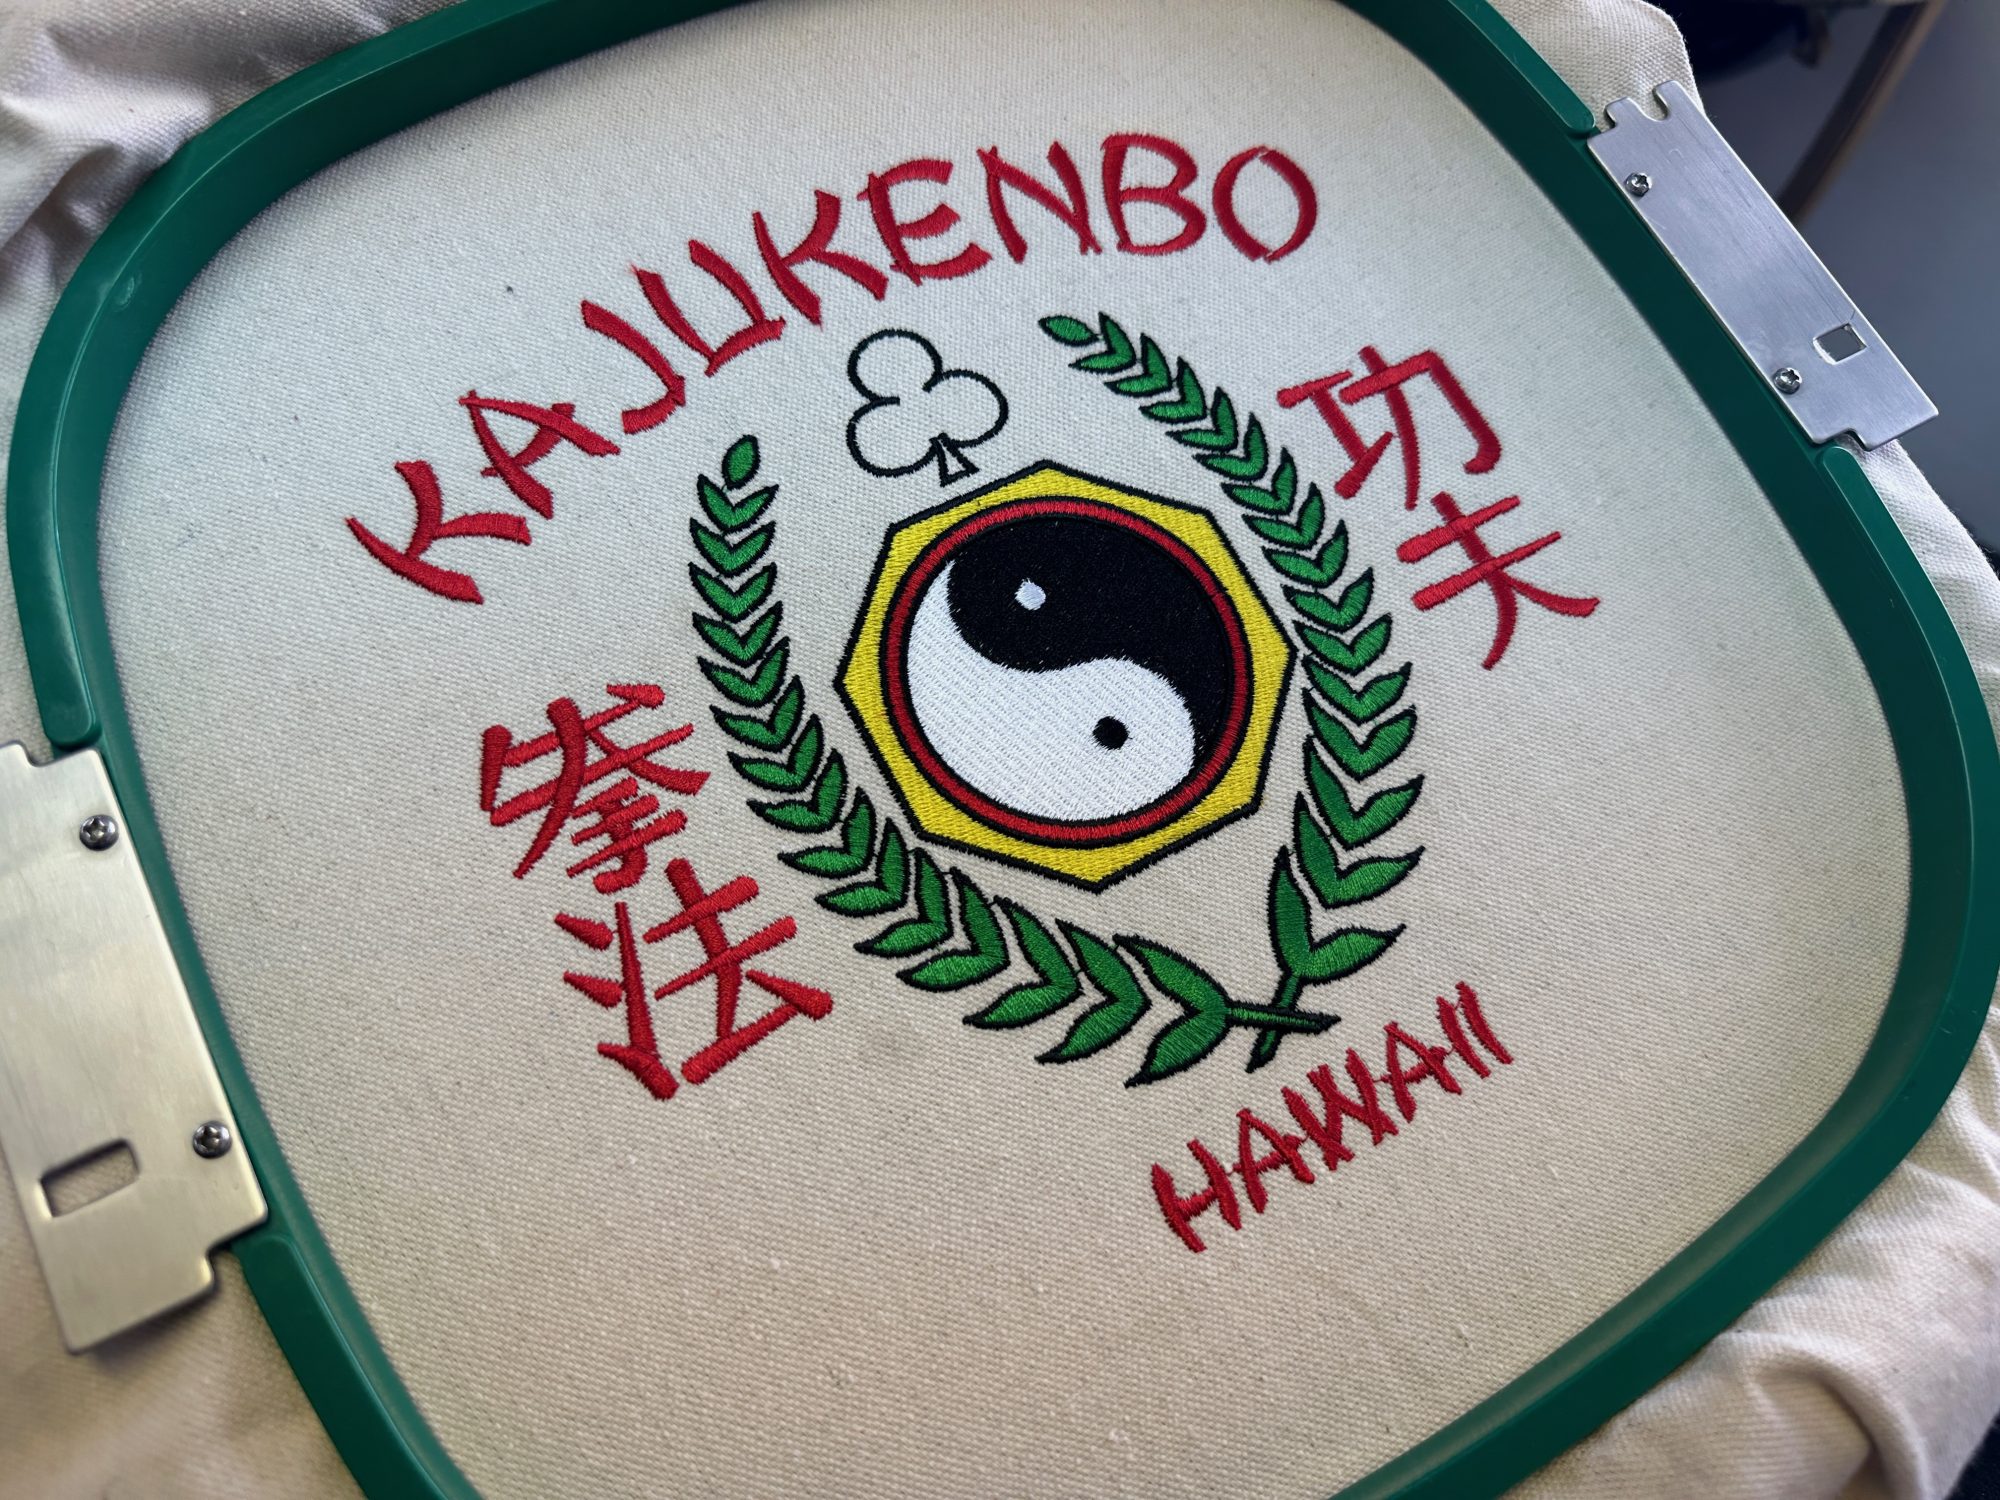
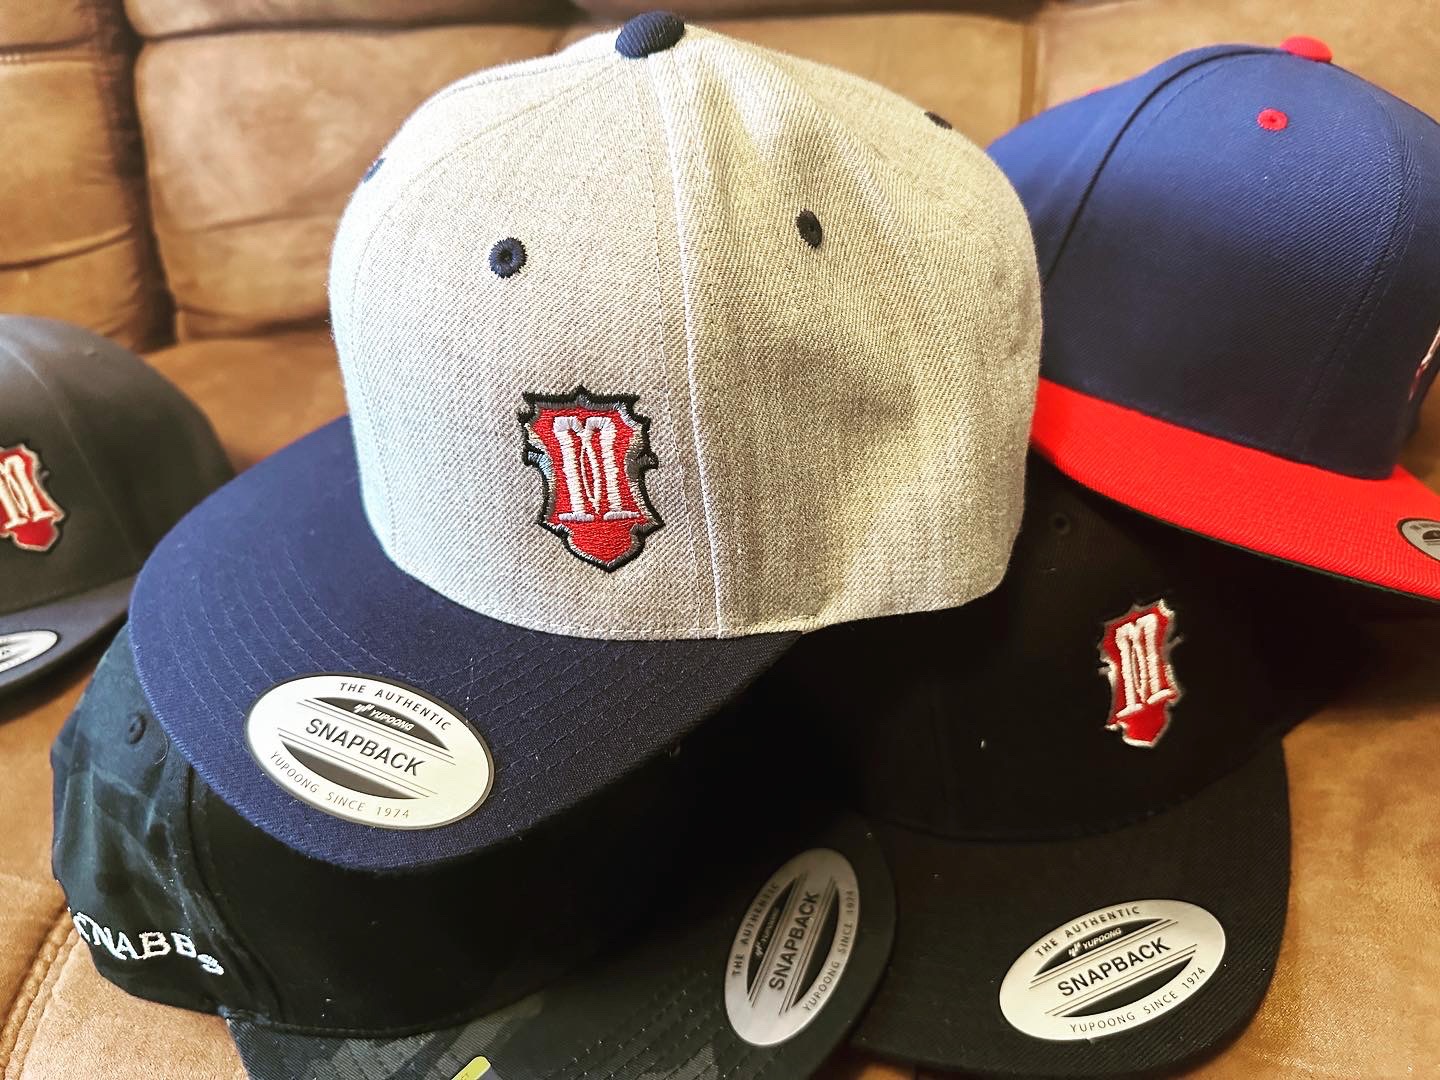
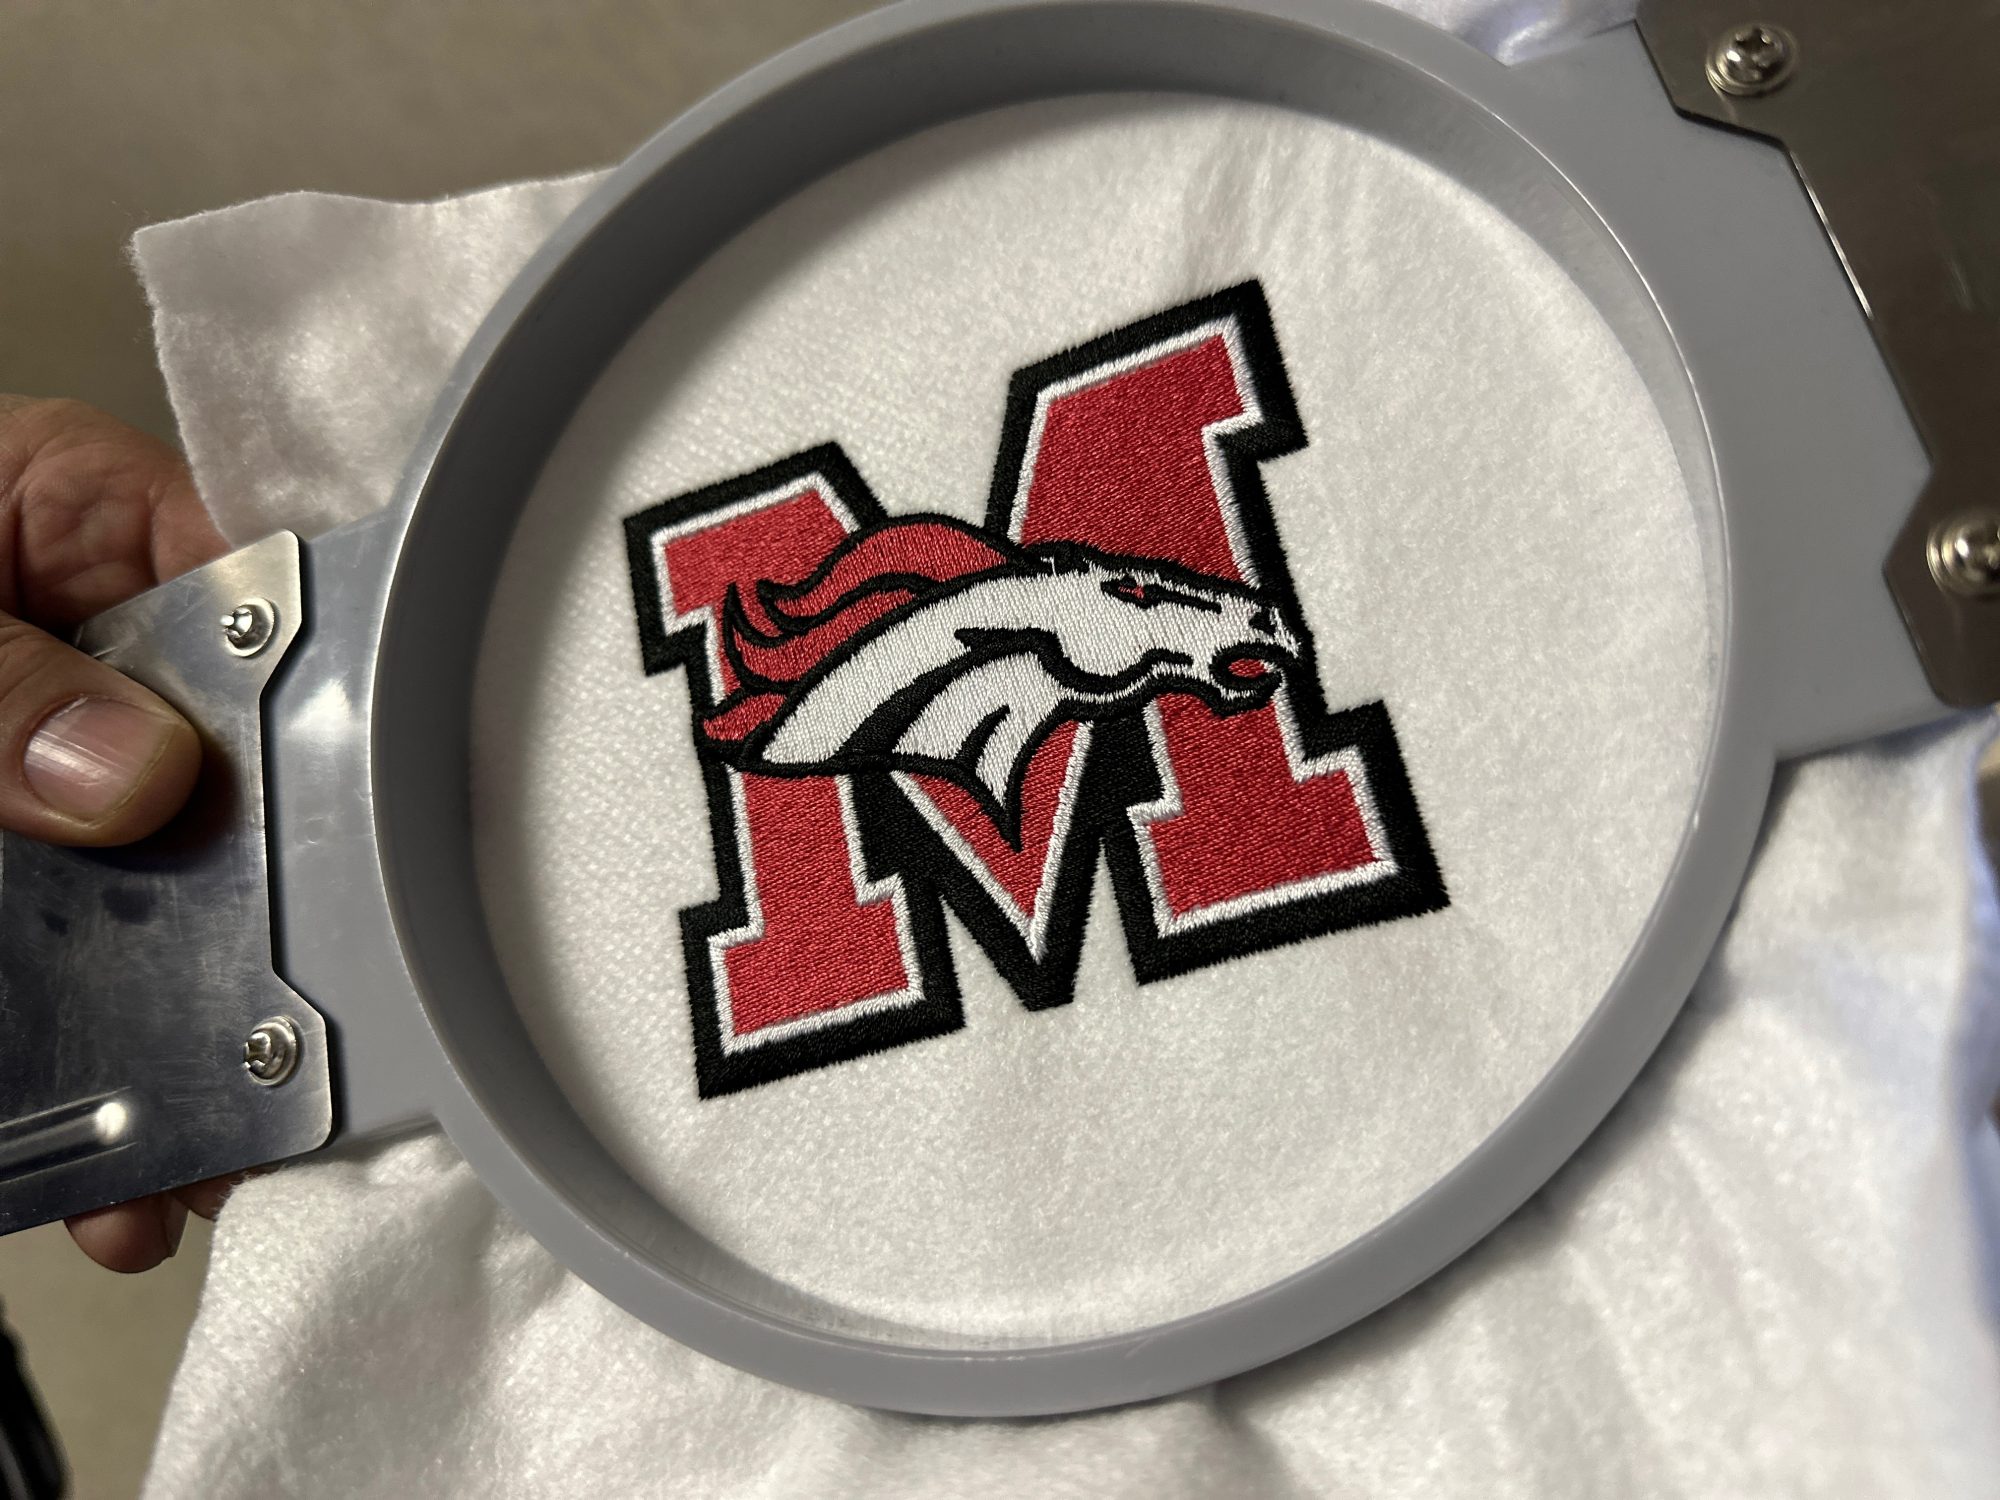
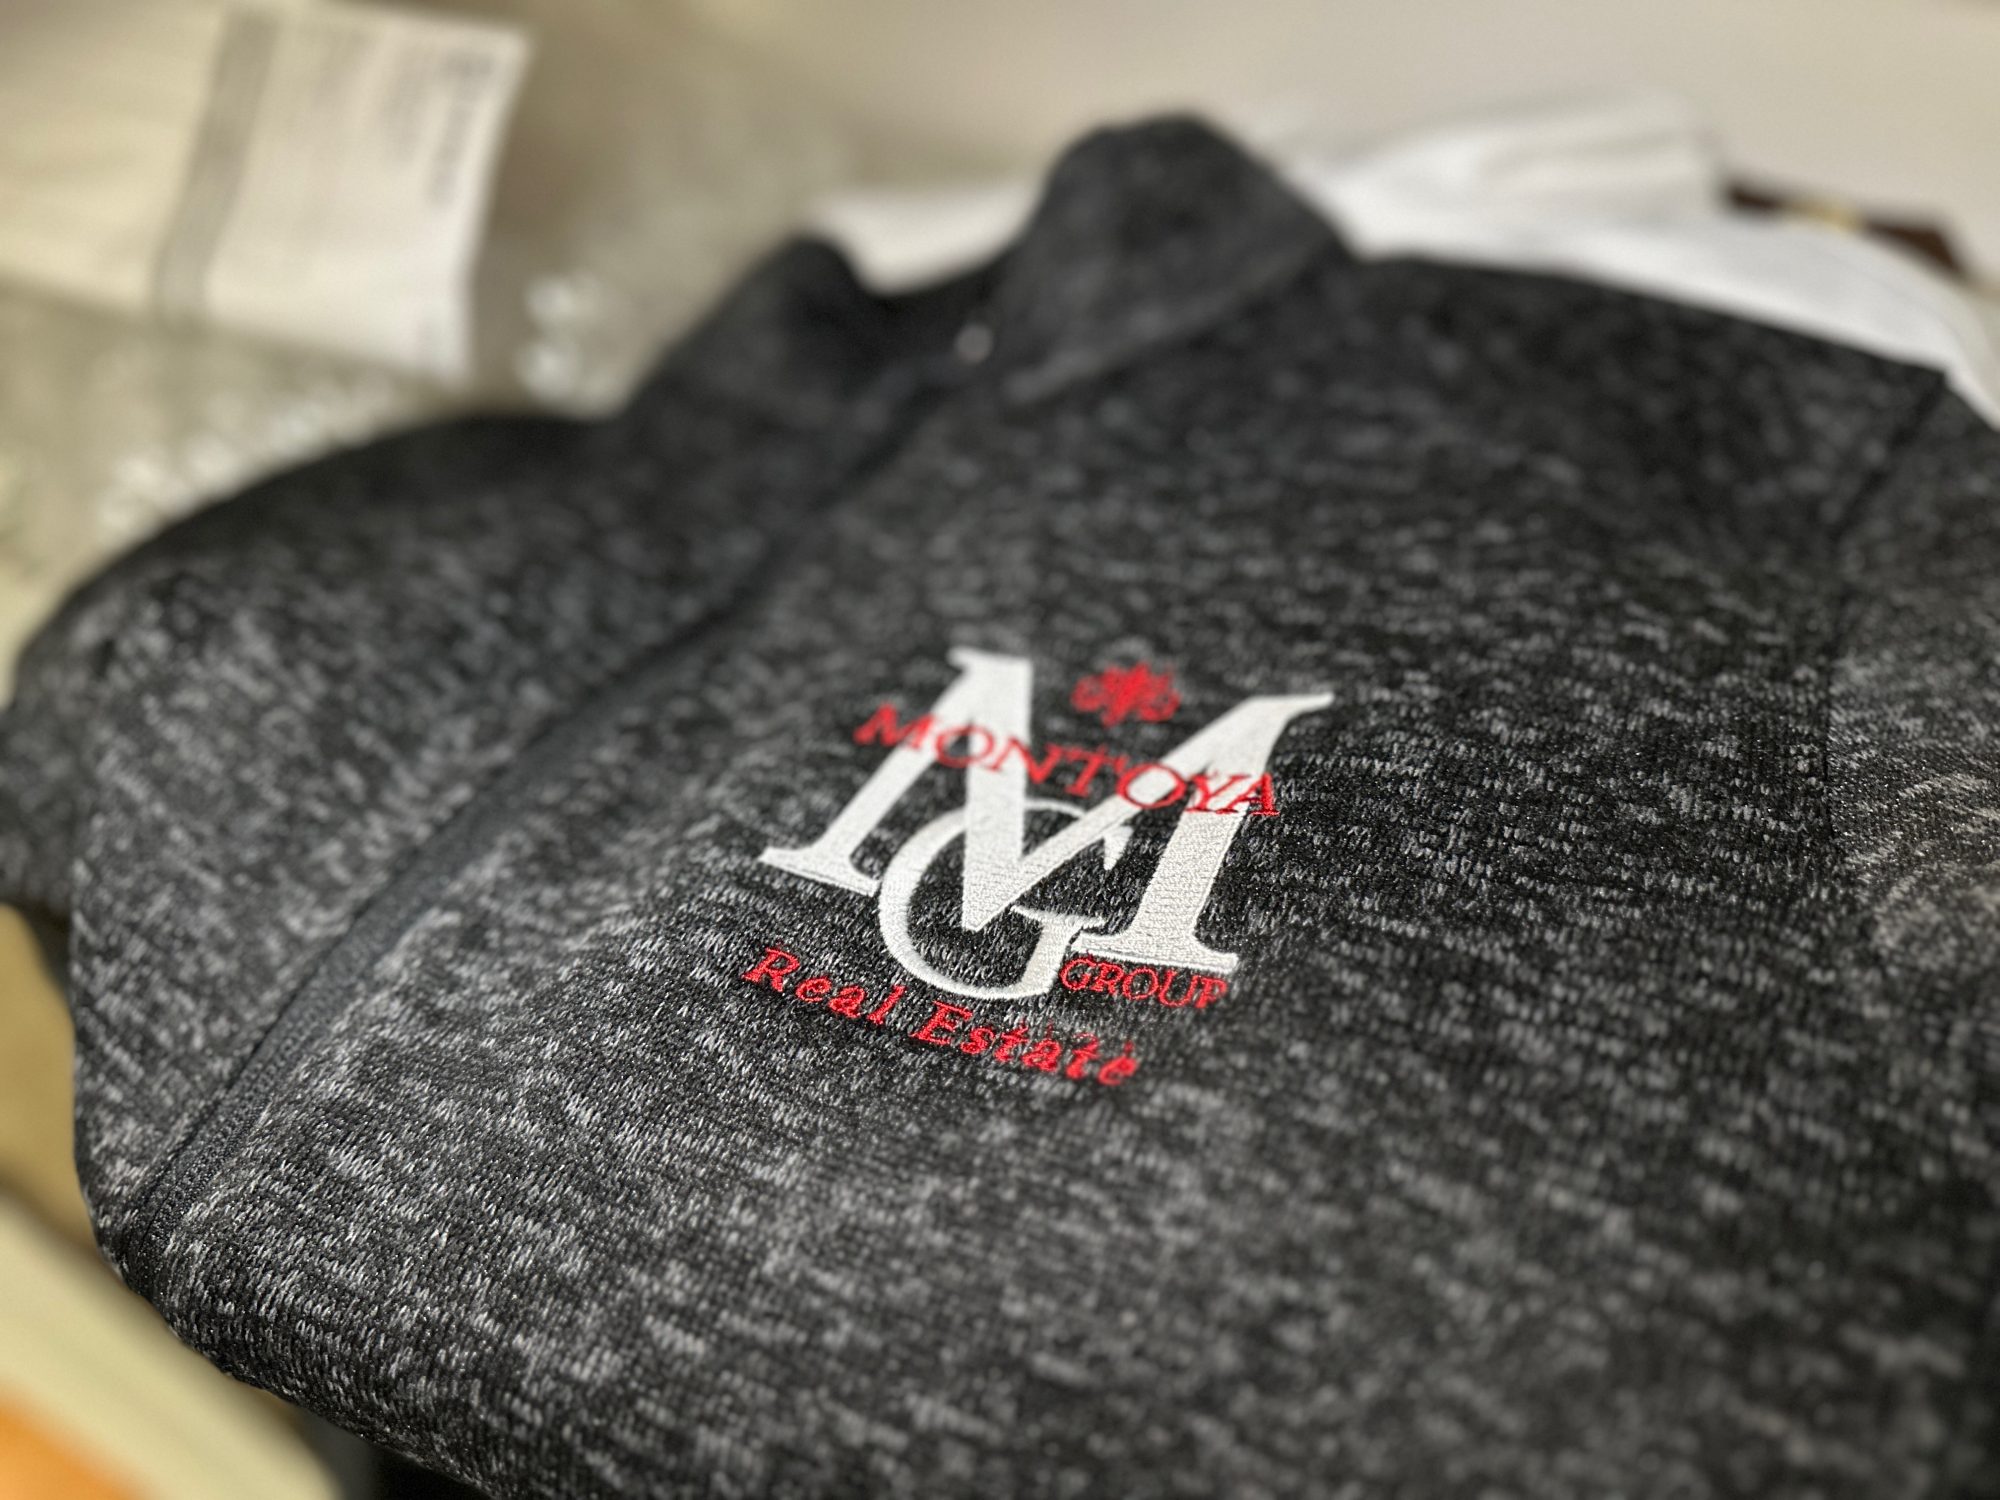
Examples of Our Work
SEE WHAT WE'VE DIGITIZED
From clean logos to large-format jacket embroidery, our digitized files are built for precision and performance. Every stitch starts with expert formatting—and the results speak for themselves. Take a look at some of our recent embroidery projects completed right here in Nampa.
HOW EMBROIDERY DIGITIZING WORKS
At The Print Plug, we follow a meticulous step-by-step process to ensure your design is optimized for every stitch—no matter the machine, material, or application.
Step 1: ARTWORK PREP
We start by importing your artwork into professional digitizing software. From there, we analyze the design’s size, complexity, and fabric compatibility. Some graphics may require slight edits to improve clarity during embroidery.
Step 2: SIZING FOR STITCH CLARITY
Embroidery doesn’t always handle tiny details well. We’ll adjust the design’s size as needed to preserve its sharpness when stitched—especially for smaller applications like hats or left chest logos.
Step 3: STITCH TYPE SELECTION
Different parts of a design require different stitch types:
- SATIN STITCHES for borders, text, and clean lines
- FILL STITCHES for solid areas that need coverage
- RUN STITCHES for outlines, fine details, or lightweight applications
Step 4: DIRECTION & DENSITY
We carefully set stitch angles and density to control thread tension, avoid puckering, and ensure the embroidery lays flat on the fabric.
Step 5: THREAD COLOR MATCHING
Using industry-standard thread charts, we match your colors for a true-to-art result. Need to edit the design for better contrast or branding? We can help with that, too.
Step 6: FINAL FILE SETUP
Once we digitize your design, we export it in the correct format for your embroidery machine. You’ll receive a polished, production-ready file for smooth stitching from the first run.
COMPATIBLE FILE FORMATS
We deliver digitized embroidery files for all major machine types, including:
- .DST (Tajima)
- .EXP (Melco)
- .JEF (Janome)
- .KWK (Brother)
- .DSB (Barudan)
- .TAP (Happy)
Need a different format? Let us know, and we’ll be happy to convert it for you!
IS YOUR DESIGN READY FOR DIGITIZING?
Before digitizing, we review each design for embroidery compatibility. Our team will:
- Resize text and simplify complex elements for better stitch clarity
- Remove outlines or fine details that won’t translate well
- Enhance design visibility and make color recommendations as needed
Not sure if your design is ready? Upload it—we’ll evaluate it for free.

EMBROIDERY DIGITIZING FAQs
Embroidery digitizing is the process of converting a logo, image, or graphic into a stitch file that embroidery machines can read. This process ensures clean, accurate stitching on hats, jackets, shirts, and more.
Fast, Accurate Embroidery Digitizing for Any Project
At The Print Plug, we specialize in fast, affordable, and professional embroidery digitizing—turning your artwork into high-quality embroidery files ready for production. Whether you’re working on large-scale embroidery projects or need a one-off logo for a single hat, we’ve got you covered.
We create precise stitching designs that work on hats, polos, jackets, bags, and more. From simple logos to complex embroidery patterns, our in-house team ensures clean results and tight thread control on every order. We even provide cap embroidery designs that align perfectly to curved surfaces, helping you achieve clean, sharp results every time.
Need to digitize a logo fast? We offer same-day turnaround on most jobs, free digitizing on qualifying orders, and the lowest digitizing rates in Nampa and the Boise area.
Why Choose The Print Plug for Embroidery Digitizing?
-
Expertly digitized embroidery design for hats, shirts, and custom gear
-
Support for all major machine file types – DST, PES, JEF, EXP, and more
-
Local, family-owned service with real people—no overseas outsourcing
-
Up to 3 free revisions per job
-
Nationwide service with no sacrifice in quality or speed
Whether you’re creating uniforms for a business, decorating team caps, or adding flair to retail embroidery projects, we’ll deliver perfect embroidery files that sew clean and smooth—every time.
FOLLOW US
ON YOUR FAVORITE PLATFORMS