Introduction
Want to know how to turn a picture into an embroidery design? Keep reading! Embroidery is an art form that has been around for centuries, and it continues to be popular today. With the rise of technology, it’s now possible to turn any picture into a custom embroidery pattern. This process allows you to create unique, personalized pieces of art that are perfect for gifts or home décor. But how exactly do you turn a picture into an embroidery pattern? In this blog post, we will guide you through the process step-by-step.
Step 1: Choosing the Right Picture
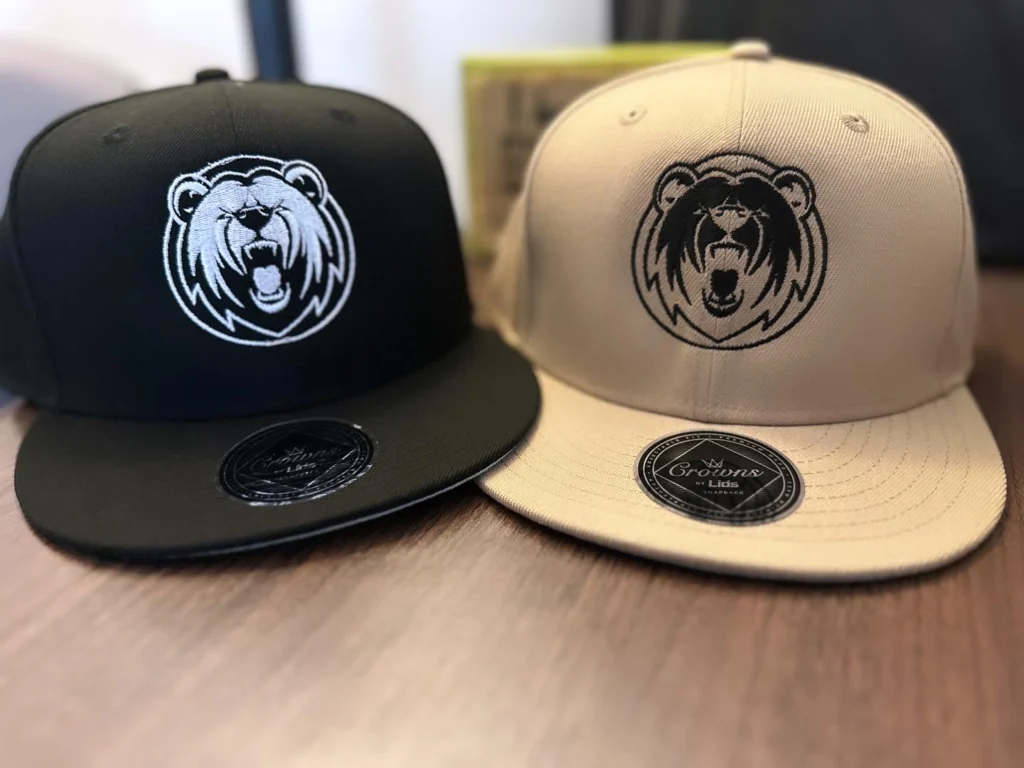
The first step in creating your custom embroidery pattern is choosing the right picture. Not all images will translate well into embroidery, so it’s important to choose one that has clear lines and isn’t too complex. Images with high contrast and fewer colors are typically easier to work with. Most commercial embroidery machines have a limitation of 15 colors, and do best with solid and opaque color patterns.
When selecting your image, consider the final placement of your embroidery pattern. Hat embroidery requires a different sew-out than left chest, for example. Special care needs to be taken to ensure your image will translate well to embroidery.
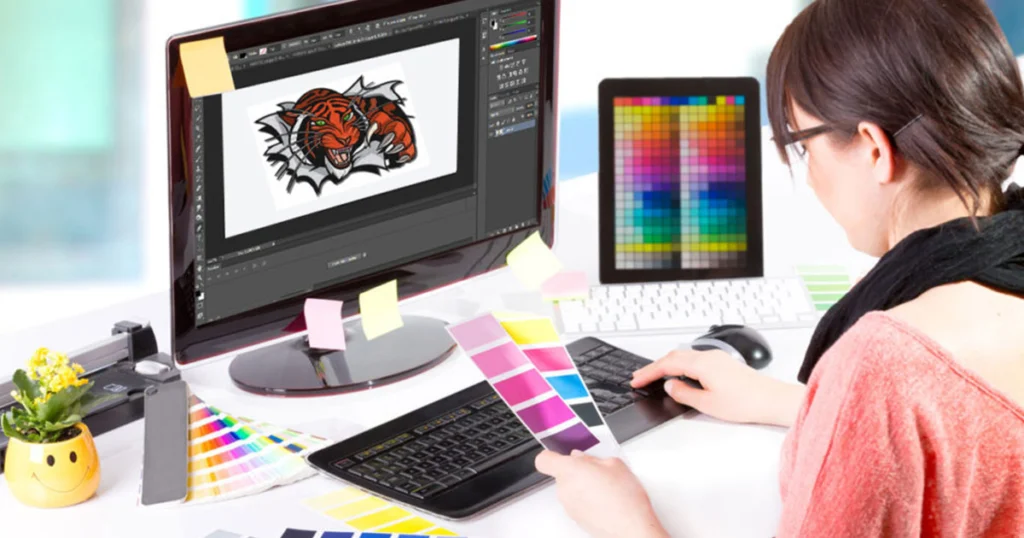
Step 2: Converting Your Picture into a Pattern
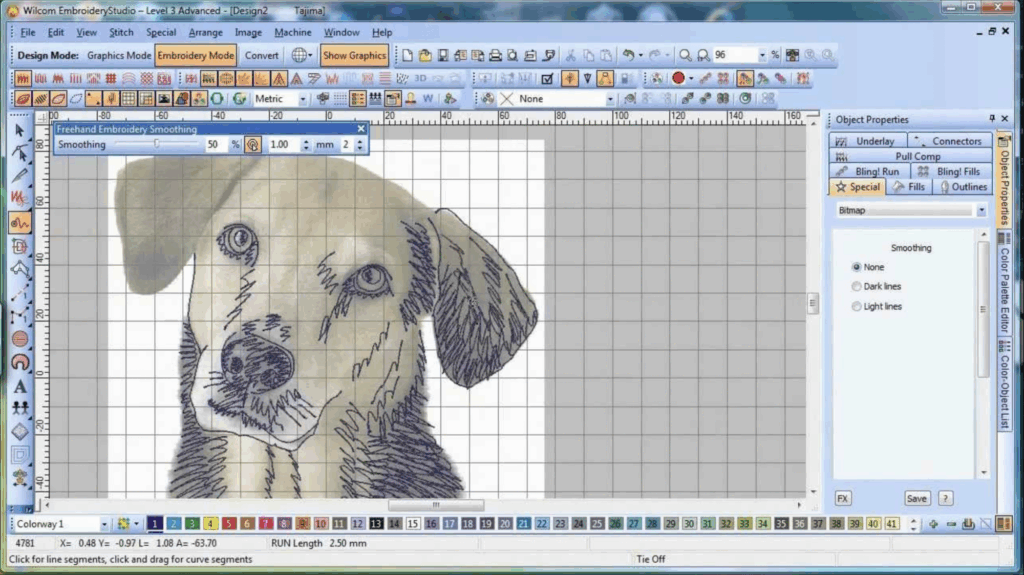
Once you’ve chosen your image, the next step is converting it into an embroidery pattern. This process is called digitizing. There are a couple of ways to digitize your embroidery file:
- Use an Online Converter: There are numerous online tools available that can convert your image into an embroidery pattern. These tools typically allow you to adjust the size of your design and select the colors you want to use. They are fairly limited in their editing capabilities beyond that, but can work well for entry level needs.
- Use Embroidery Software: If you plan on doing a lot of custom embroidery work, it might be worth investing in dedicated embroidery software. These programs offer more advanced features than online converters and can provide higher-quality results. They allow users to fully manipulate individual nodes of embroidery patterns.
- Hire A Company: You may decide to hire a company such as The Print Plug for your digitizing needs. Remember that embroidery digitizing is an art, not a science. Therefore, your results will vary depending on how you go about the digitizing process.
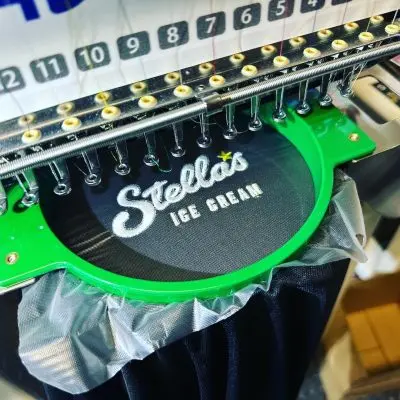
Step 3: Embroidering Your Design
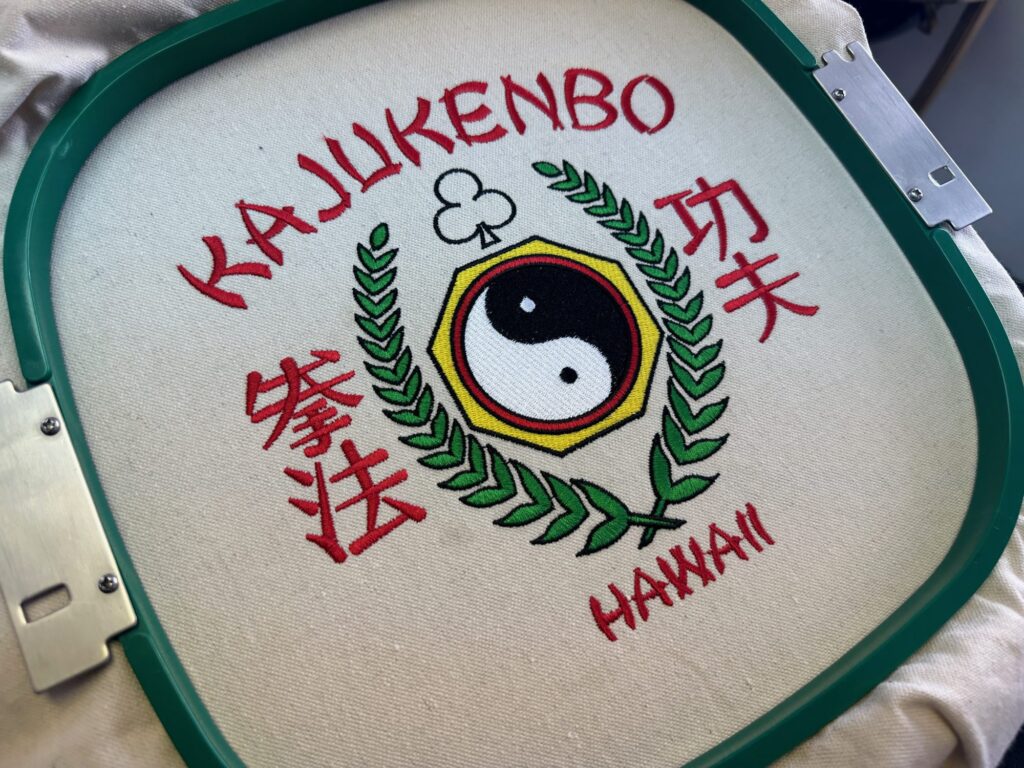
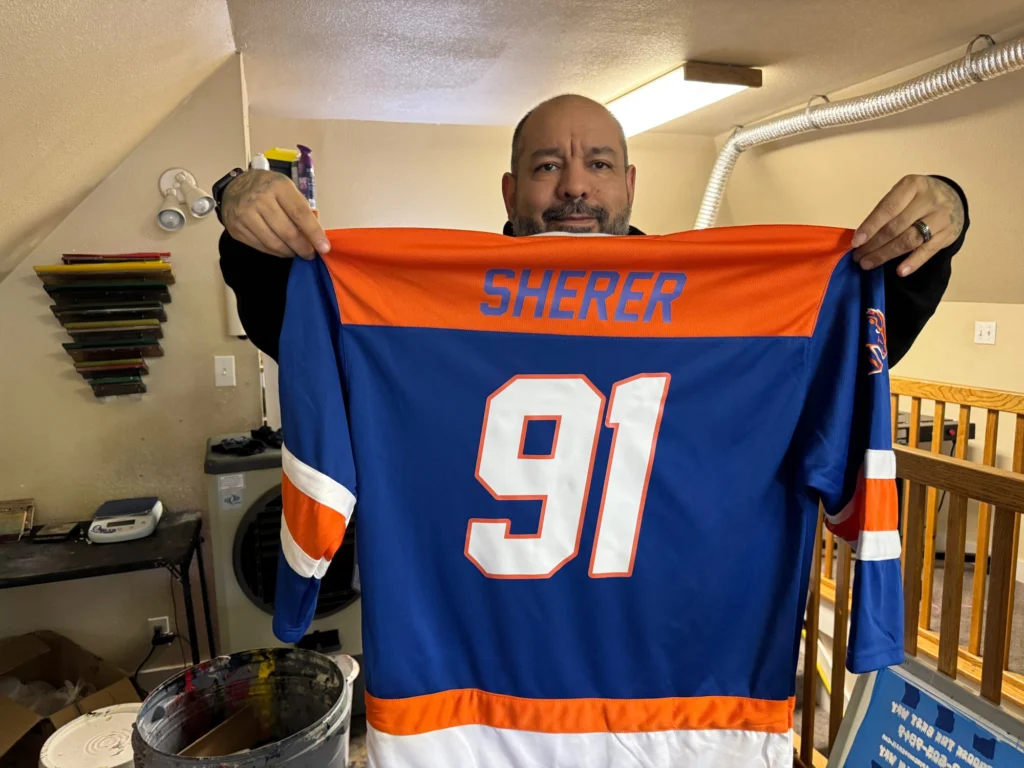
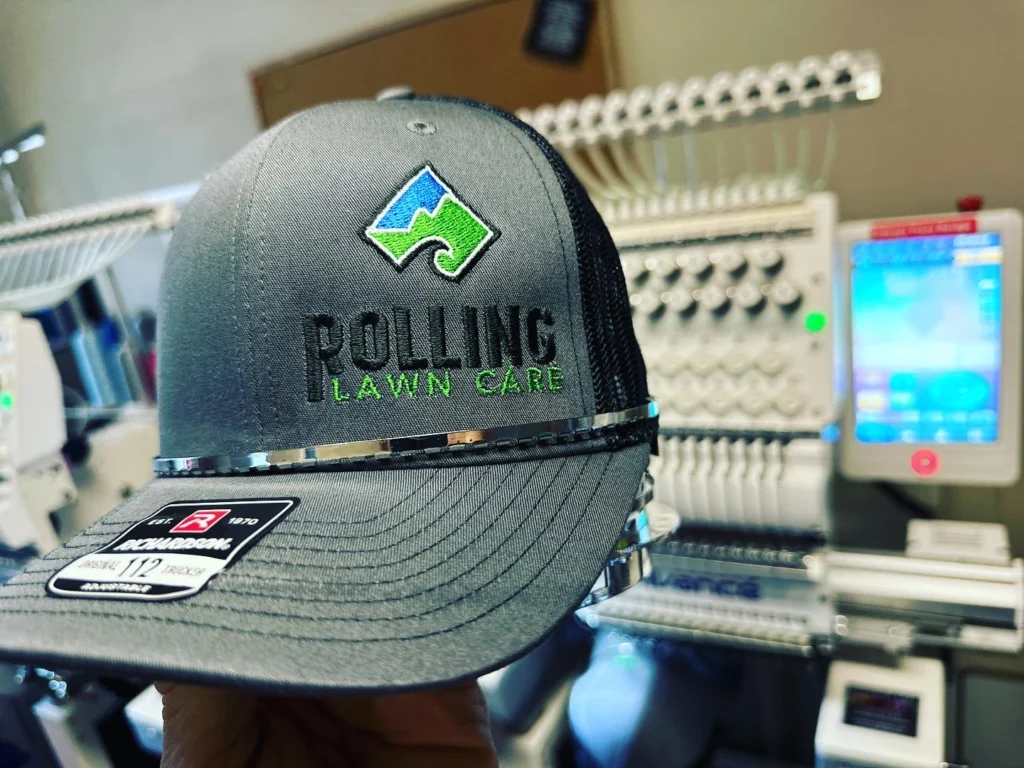
After you’ve created and digitized your pattern, the next step is transferring it to your fabric. This is typically done on a sewing machine or an embroidery machine.
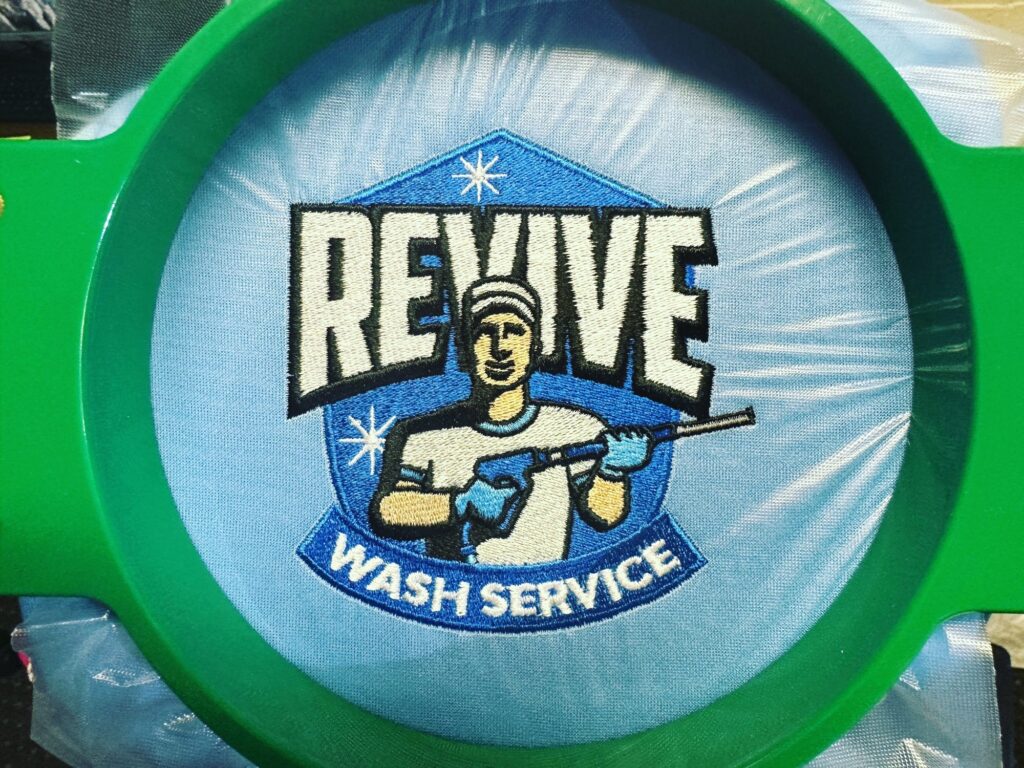
Most commercial embroidery machines allow up to 15 colors per design, and you can change colors out in between each sew-out. This makes color selection fairly versatile. Similarly, size adjustments can typically be done quickly and easily on the machine. Bear in mind that when embroidering items such as hats, the direction of the sew-out becomes more critical to prevent puckering or other negative results.
Conclusion: Turn A Picture Into An Embroidery Design
Turning a picture into a custom embroidery pattern may seem daunting at first, but with a little practice and patience, anyone can do it! Whether you’re creating a personalized gift or making something special for yourself, custom embroidery allows you to create truly unique pieces of art.
Remember that like any craft, embroidery takes time and practice to master. Don’t be discouraged if your first few attempts don’t turn out exactly as you’d hoped. With each project, you’ll learn more about what works and what doesn’t and improve your skills along the way.
Need something embroidered or digitized fast? Contact us at The Print Plug for professional embroidery and digitizing assistance. We serve Nampa, Idaho and the greater Treasure Valley with custom screen printing, embroidery, DTG and more.
Check out our awesome Google reviews